How to Use the Build Agent in GetGenerative.ai: A Step-by-Step Guide
The Build Agent in GetGenerative.ai transforms detailed requirements and low-level solutions into executable developer tasks. It bridges the gap between solution design and actual implementation by auto-generating an implementation workbook and identifying code-level customizations.
This agent is ideal for technical architects, developers, and Salesforce administrators preparing to configure and customize Salesforce environments. It ensures every item is traceable to a user story and built according to organizational best practices.
Note: The Build Agent requires a completed Design Agent deliverable. It cannot be used as a standalone entry point.
Getting Started with the Build Agent
Step 1: Convert a Design Project
- Go to the Build Agent tab.
- Click Start New Project with AI.

- Select a completed Design Agent project to convert. Here, we’re choosing the one previously used with both the Pre-Sales and Design Agents. Click ‘Next’

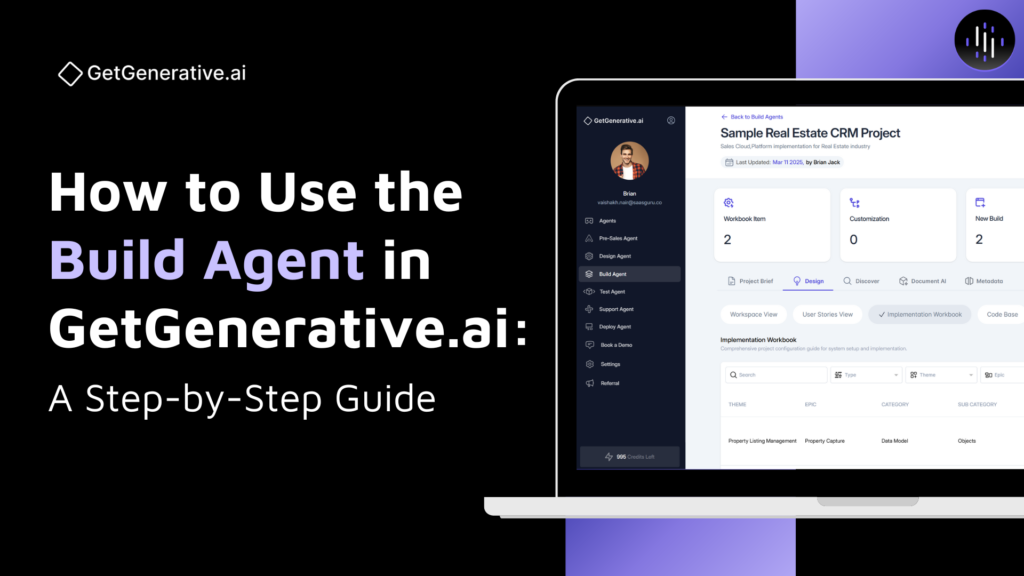
- Once your Build Agent project is created, you’ll see five primary sections at the top navigation bar: Project Brief | Design | Discover | Document AI | Metadata
We’ll walk through each of these sections one by one.
- Project Brief: This tab provides an overview of your project’s context, including Scope, Outcomes, Challenges, and out-of-scope items. It mirrors the Project Brief you saw in the Design Agent for continuity.

Step 2: Access Build Agent Views in the Design tab
Next, in the “Design” tab, you’ll find four essential views that drive implementation readiness:
- Workspace View: Full breakdown from Themes to User Stories and Solutions.
- User Stories View: View and edit user stories.
- Implementation Workbook: Auto-generated task list for developers/admins.
- Code Base: Customization items like Apex, Triggers, LWC, etc.
Workspace View
The Workspace View offers a structured layout to track every element derived from your Design Agent deliverable:
Components Displayed:
Themes → Epics → User Stories → High-level solution → Low-level Solution → Implementation Workbook
This hierarchy is auto-populated from the converted Design Agent project, with one additional layer — the Implementation Workbook. You can also add new Themes, Epics, or User Stories as needed. Each user story is fully editable, including fields like priority, release, persona, and cloud, ensuring alignment with your delivery goals.

- High-Level Solutions
These are functional solutions generated earlier during the design phase. You can review or edit fields like Module, Sub-Module, Complexity, and Effort. Each solution stays linked to its respective theme and epic.
- Low-Level Solutions
Detailed technical breakdowns tailored to each user story. These guide the Build Agent in preparing exact implementation tasks. You can update the complexity, assumptions, and linked components as needed.

- Implementation Workbook
The Implementation Workbook captures every implementation task derived from user stories and low-level solutions. It translates your design into actionable developer or admin tasks, ensuring traceability and execution readiness.

If you click on Regenerate Workbook, it will refresh and reanalyze your implementation plan using updated inputs, metadata, or design changes.
Now, click on any row to edit the workbook item. You can modify:
- Task Title: Metadata or feature name (e.g., Opportunity_ValidationFlow)
- Type: (e.g., Assignment Rule, Flow, Validation Rule)
- Category and Sub-Category (e.g., Automation → Assignment Rules)
- Work Type: Configuration or Custom
- Action Type: New / Update / Delete
- Theme and Epic: Auto-linked for traceability
- Cloud: Based on original solution (e.g., Sales, Service, Experience)
- Status: Not Started / In Progress / Completed

- Description, Assumptions, and Developer Notes (detailed step-by-step build instructions)


You can edit fields, assign tasks to multiple user stories, and update statuses to reflect development progress.
Each configuration is mapped to one or more user stories by default. You can manually link or unlink stories to ensure development tasks align with business needs.
This section forms the foundation for the Code Agent (In code base) — every customization listed here is eligible for auto-code generation.
User Stories View
The User Stories View allows you to manage all user stories across Themes, Epics, and Releases. You can view stories in Table or Kanban mode, filter by theme or epic, and search for specific entries.

Each story displays key metadata, including status, priority, release date, creator, and JIRA sync status. You can also click Add User Story or Add Release to extend the scope. Stories are fully editable, and all updates stay linked to their respective configurations and code items.
Implementation Workbook View
The Implementation Workbook View provides a consolidated list of all configuration and customization tasks identified across your project. It mirrors the Implementation workbook entries from the Workspace View but presents them in a centralized, filterable layout.
Use this view to sort tasks by Type, Theme, Epic, or Category, making it easy for developers and admins to track build scope and progress at a glance.
Code Base View
The Code Base tab activates when customization tasks are detected. It lists all code items generated from the implementation workbook.

Key Capabilities:
- Customization Types: Apex Classes, Triggers, LWCs, Aura, VF Pages
- File List: View new and existing files with metadata, description, and type
- Open Editor: Launch the integrated development environment to view/edit code
Each code item is powered by the Code Agent, which builds upon:
- User Story context
- Developer Notes
- Workbook entries
- Org Metadata
Code Agent (Integrated in Build Agent)
The Code Agent is your AI-powered development assistant. It supports end-to-end code lifecycle—from generation to deployment.

Step-by-Step Flow:
- Connect Org: Add Salesforce credentials (username, password, token)
- Extract Existing Codebase: Optional, but helps avoid conflicts
- Launch Editor: View new files or open the complete code base
- Generate Code: Auto-filled prompts generate full code with a click
- Chat with Dev Assistant: Ask follow-ups, request edits, or get explanations
- Apply Code: Insert into builder — apply to one or all files
- Compile & Deploy: Test and push directly to sandbox
- Test Class Support:
- Auto-generate tests
- Run and validate coverage
- View coverage results in real-time
- Manage Versions:
- Save files locally
- Refresh from org to stay synced
Supported AI Models:
- GPT-4o
- Codex
- Claude Sonnet 3.5 & 3.7
- Gemini 2.5 Pro

Section 3: Discover
The Discover section in the Build Agent helps ensure alignment between evolving requirements and your build tasks. It functions as a bridge between stakeholder inputs and execution.

Key Capabilities:
- Project Input Gaps
Displays pending AI-generated questions linked to Themes and Epics. These highlight missing details that are essential for successful build execution. - Answer Questions
Click on any pending question to provide an answer, attach documents, or record audio. Responses enhance the input quality score and immediately reflect across the system. - Organized by Theme & Epic
Questions are grouped logically (e.g., Case Management > Case Routing) for structured navigation. - Add New Insight
Stakeholders can contribute additional insights or clarifications manually using the Add New Insight button. - Impact Syncing
All answers and insights update the associated User Stories, Solutions, and Implementation Workbook items — ensuring nothing is missed downstream. - Real-Time Status
Easily toggle between Pending, Answered, or All to track progress.

When you click on any question, it opens in an editable form like the one shown above. You can refine the question, provide answers, upload supporting documents, or record voice inputs. This ensures all ongoing discovery is captured and acted upon — even mid-build — keeping your implementation aligned and up-to-date.
Section 4: Document AI
Document AI serves as a smart repository where you can upload, search, and interact with any project-related document.

Features:
- Upload & Organize: Store BRDs, SOWs, meeting notes, etc.
- Chat with Files: Ask custom questions (e.g., “What integrations were requested?”)

- Extract Requirements: AI will extract functional or technical requirements
- Summarize Docs: Generate 50-word summaries for quick internal reviews
- Link to Project: Turn extracted items into actionable insights within the Build Agent
All extracted insights are visible to the team and auto-tagged to relevant areas like user stories or configuration tasks.
Section 5: Metadata
This feature connects your sandbox org and imports existing metadata to enhance solution alignment.

Use Cases:
- Extract Metadata Objects: From Flows, Objects, Fields, Profiles, and more
- Natural Language Summary: Get descriptions of technical components in plain English
- AI Reasoning: Helps the platform decide whether to create, update, or ignore configurations based on what already exists
- Code Impact: Ensures new custom code builds upon what’s already in the org, not in isolation
Metadata is critical for reducing duplication, improving solution integrity, and simplifying audits.
Collaboration & Sharing
The Build Agent supports seamless teamwork across admins, developers, architects, and project managers.


Sharing Features:
- Invite Team Members: Use the Share button to assign view or edit permissions
- Role-Based Access: Limit access based on task ownership or domain
- Inline Comments: Add notes or tag teammates directly inside tasks, stories, or solutions
- Activity Tracking: View edit history for accountability
You can also export tasks, configuration items, and code files for offline collaboration or documentation.
FAQs
1. Can I start directly with the Build Agent?
No. You must finalize a Design Agent project first. This ensures all requirements, user stories, and low-level solutions are properly vetted before configuration or development begins.
2. What’s the difference between configuration and customization?
- Configuration: Refers to point-and-click tasks such as Flows, Record Types, Validation Rules, and Security Settings.
- Customization: Involves code-based development such as Apex Classes, Lightning Web Components (LWC), Aura Components, and Visualforce Pages.
3. How does the system detect existing configurations in the org?
If metadata extraction has been performed, the system compares proposed configurations against existing ones. It runs dependency and reuse analysis and labels tasks as “Update” rather than “New” when overlaps are found.
4. How is the low-level solution generated?
It is created using a robust 9-step reasoning framework that includes:
- Pre-sales solution alignment
- Salesforce cloud/module RAG matching
- Salesforce architectural best practices
- Org metadata dependency analysis
- Deduplication logic
- Object-level validation
- Configuration workbook structuring
5. Can it modify existing files?
Yes. The Code Agent compares existing org files with proposed updates. It flags changed lines, offers patch previews, and allows user approval before applying updates.
6. What types of files are supported?
Supported file types include:
- Apex Classes
- Apex Triggers
- LWC (JavaScript, HTML, XML)
- Aura Components
- Visualforce Pages
- Related Salesforce metadata files
7. Which LLMs are available for code generation?
You can choose from multiple models per project:
- GPT-4o
- Codex
- Claude Sonnet 3.5
- Claude Sonnet 3.7
- Gemini 2.5 Pro
8. Can it generate test classes and track coverage?
Yes. The platform auto-generates test methods for Apex, runs them in your sandbox, and displays real-time code coverage statistics. You can interact with the Dev Assistant to improve test logic or expand coverage.
9. What else can the Dev Assistant do?
The AI-powered Dev Assistant can:
- Chat contextually based on the file or user story
- Apply and edit code
- Compile and deploy to Salesforce orgs
- Refresh files from org
- Perform multi-file updates
- Manage validation and versioning during development